Paper Cut Christmas 3D Art & Design
Paper cut Christmas 3D offers a distinct way to capture the holiday season through layered depth and deliberate composition. Whether you work with cardstock and a craft knife or build scenes in vector software, the technique relies on stacking flat elements to create shadow, atmosphere, and visual storytelling. The result feels intentional, tactile, and warmly dimensional—qualities that stand out in both physical products and digital media.
For creative professionals and engaged hobbyists, this style provides a structured framework for producing cohesive holiday work. The constraints it imposes, clean edges, limited color palettes, and sequential layering, often lead to more focused and effective designs. Understanding how to adapt paper cut 3D for different platforms and audiences makes it a versatile tool for the Christmas season.
Why Layered Depth Resonates During the Holidays
Christmas imagery is dense with familiar symbols: trees, stars, wreaths, and villages. Paper cut 3D interprets these motifs through physical or simulated depth, giving each element its own plane. Light falling across the edges of cut paper, or the digital equivalent of a drop shadow, creates a sense of space that flat illustration cannot replicate. This dimensionality mimics the way we experience holiday decorations and environments, making the work feel more grounded and inviting.
The technique also aligns naturally with the gifting and crafting cycles of the season. Audiences appreciate work that looks handmade or carefully assembled, even when it is created digitally. The visible structure of layers, foreground, midground, and background, invites viewers to explore the composition rather than simply glance at it. For marketers and content creators, this translates into higher engagement on social feeds and longer time spent with an asset.
Practical Applications Across Creative Goals
Paper cut Christmas 3D adapts to a wide range of professional and personal projects. The core principles remain the same, but the output changes depending on the medium and the audience.
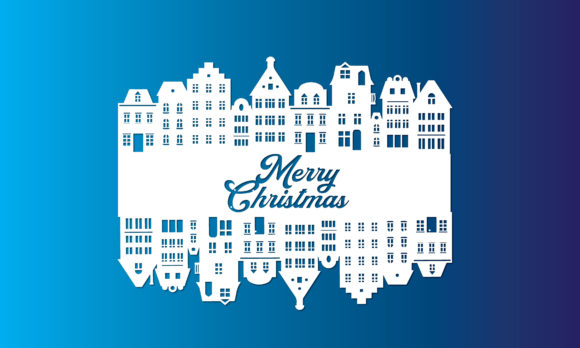
Graphic designers and marketers can use layered scenes as hero images for email campaigns, landing page headers, or animated social posts. A simple three-layer design with a snowy foreground, a text layer, and a village background creates immediate depth without overwhelming the message. Adding subtle parallax movement in video or web formats makes the paper cut effect feel dynamic while keeping the production straightforward.
Content creators and bloggers can package the technique into tutorials, free resources, or printable kits. A set of Paper Cut Christmas 3D SVGs makes an excellent lead magnet for an email list. The perceived value is high because the files require careful organization to cut correctly, and a well-prepared bundle saves subscribers hours of setup time. Video walkthroughs of assembling a layered shadow box also perform well on platforms like YouTube and Instagram Reels, where the hands-on process is visually satisfying.
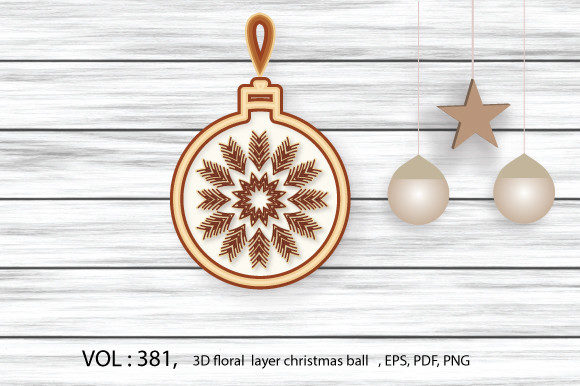
Small business owners and entrepreneurs can productize this style in multiple ways. Physical goods include laser-cut wood ornaments, greeting cards, desk calendars, and assembled shadow boxes. Digital products such as Procreate brush sets designed to mimic paper textures, Photoshop layer templates, or commercial-use SVG bundles create passive revenue streams. The crisp, graphic nature of paper cut art photographs well, which helps listings stand out on marketplaces like Etsy and Creative Market.
Educators and workshop facilitators can use layered Christmas projects to teach design fundamentals. Negative space, color theory, and composition become intuitive when students must physically arrange cut elements. A workshop titled "Design a 3D Christmas Scene" covers practical software skills while encouraging creative problem solving, and the finished piece provides a satisfying takeaway.
Digital Execution vs. Physical Crafting
The choice between digital and physical production shapes the workflow and the final aesthetic. Both approaches require clean geometry and intentional layering, but the constraints differ significantly.
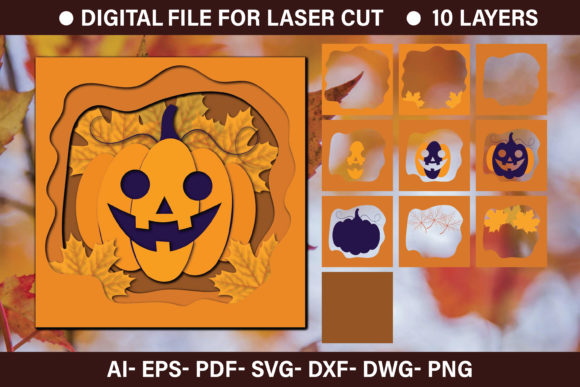
Physical paper cutting demands attention to material properties. Matte cardstock holds crisp folds and cuts, while vellum introduces translucency and glitter paper adds reflective highlights. Foam adhesive squares create the gaps between layers, and their thickness directly determines the shadow depth. A physical piece might use three to five layers, with the backing sheet providing structural stability. Crafters need files with clear cut lines, intuitive layer labels, and alignment guides to ensure a smooth assembly experience.
Digital paper cut 3D removes material limitations. You can simulate dozens of layers, adjust lighting angles in post-production, and animate elements without worrying about fragile bridges or tiny cut pieces. The challenge is maintaining the illusion of paper, which requires consistent drop shadows, limited color shifts, and edges that feel clean rather than airbrushed. Software like Adobe Illustrator, Affinity Designer, or Blender can produce convincing paper effects, and the resulting files work well as static images, GIFs, or video loops.
Regardless of the medium, lighting is critical. In physical projects, warm LED light or natural daylight enhances the shadows between layers. Digitally, a soft light source from the top-left with subtle ambient occlusion reinforces the paper aesthetic. Getting the lighting right elevates a good composition into one that feels truly dimensional.
Building a Cohesive Holiday Collection
Consistency separates a one-off project from a recognizable body of work. When developing a series of Paper Cut Christmas 3D designs, standardize a few key elements to create a unified look across products or posts.
Color Story and Material Palette
Choose a palette that fits your brand or the intended audience. A traditional combination of deep red, forest green, and gold reads as classic and nostalgic. A muted Nordic palette of soft white, charcoal, sage, and a single accent of crimson feels modern and minimal. A boho palette with terracotta, cream, and olive green stands out on platforms like Pinterest and resonates with a younger audience. Limiting the palette to three or four colors maintains the clean, graphic feel that paper cut designs require.
Layer Structure and Composition
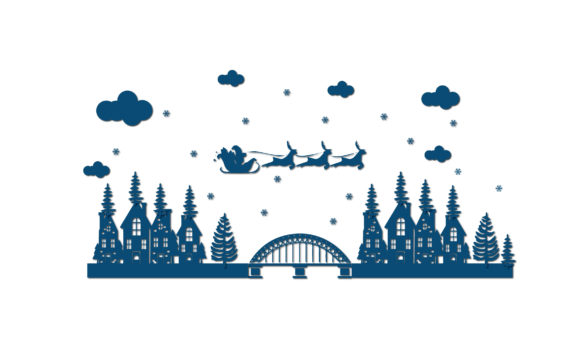
Establish a consistent layer count and composition rule. A five-layer framework might allocate the background to a textured sky or solid color, the next two layers to distant scenery like trees or hills, the foreground layer to a hero element such as a reindeer or sleigh, and the top layer to typography or a framing border. Reusing this structure across multiple designs, while swapping out the midground elements, streamlines production and builds a recognizable style.
File Organization and Naming
If you sell digital files or collaborate with a team, organization is essential. Label every layer clearly: Layer_1_Backing, Layer_2_Village, Layer_3_Trees, Layer_4_Text. Include a readme file with assembly instructions and recommended cardstock weights. Good file hygiene builds trust with customers and reduces support requests, making your products more professional and reliable.
Ensuring Clarity and User Success
The best paper cut designs account for how the audience will actually use them. A few practical checks improve the final result for both creators and end users.
Maintain readability. If your design includes text, the layer colors must provide sufficient contrast. A white cut layer over a pale background becomes invisible. Use a dark backing layer, a colored shadow, or a bold foreground color to make text stand out. Test the design at its intended display size, whether that is a large print or a small social media thumbnail.
Watch the scale of details. Thin branches, tiny window panes, and intricate snowflake patterns look impressive in full resolution but can break or vanish when scaled down. For physical cuts, ensure all bridges and details are thick enough to hold together. For digital versions, check that small elements remain visible on mobile screens. Simplifying intricate areas often strengthens the overall composition.
Test the assembly process. Build a prototype of any physical design before offering it for sale. Note which pieces are fragile, which alignment marks work well, and how thick the adhesive spacers should be. A smooth, frustration-free crafting experience leads to positive reviews and word-of-mouth recommendations. For digital templates, test the file in the target software to ensure all layers import correctly and the effects are editable.
Finding Your Original Angle
Paper cut Christmas 3D is a popular style, which means standing out requires a personal perspective. Rather than simply replicating standard scenes, combine the technique with your existing interests or expertise. A designer who loves typography can create layered lettering pieces that spell out seasonal words with built-in depth. An illustrator focused on architecture can design paper cut skylines of local landmarks decorated for the holidays. A crafter who enjoys nature photography might build scenes using only native plants and animals, rendered in earthy color palettes.
Experiment with breaking the conventions of perfect layering. Mix in hand-drawn elements, use unconventional materials like cork or translucent vellum, or create animated versions that shift slightly between layers. The goal is to produce work that reflects your specific point of view, not just a generic holiday decoration. A portfolio built on original concepts holds more value for clients and attracts an audience that appreciates thoughtful design.
Paper cut Christmas 3D rewards careful planning and creative intention. By focusing on depth, consistency, and audience needs, you can produce work that feels both handcrafted and professional. The technique bridges the gap between tradition and modern design, offering a structured way to bring holiday stories to life through layered light and shadow.