Christmas Ornaments 3D Layered SVG: A Practical Guide for Creators and Entrepreneurs
When the holiday season approaches, many creators and small business owners look for ways to produce distinctive, high-quality decorations that stand out. Christmas Ornaments 3D Layered SVG files have become a reliable asset in this space, offering a structured approach to creating dimensional ornaments that feel substantial and polished. Unlike flat, single-layer designs, these files stack multiple cut layers to build depth, creating a sculpted look that catches light and draws attention. Whether you are a hobbyist crafting gifts for family or a seller building inventory for a seasonal shop, understanding how to integrate these files into your workflow can save time, reduce material waste, and improve the consistency of your final product.
What Christmas Ornaments 3D Layered SVG Files Actually Are
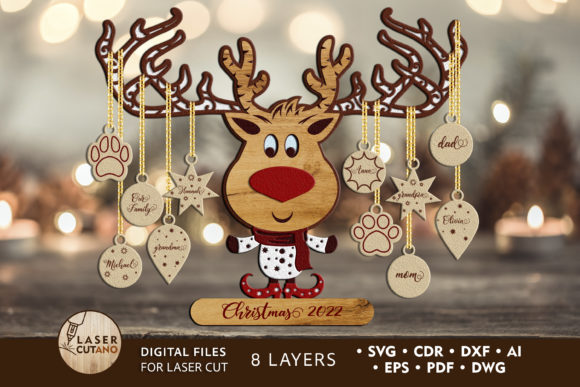
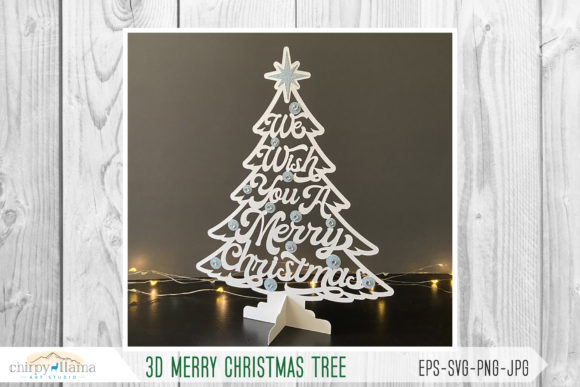
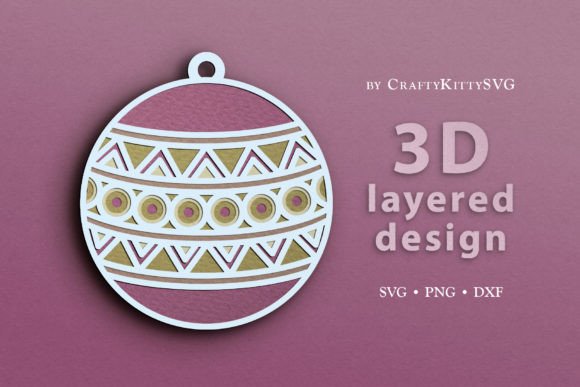
At their core, layered SVG files are vector-based cut files designed for use with machines like Cricut, Silhouette Cameo, or laser cutters. A 3D layered ornament file typically contains multiple individual SVG layers—each representing a distinct depth or color region within the ornament. When cut, assembled, and stacked, these layers create a three-dimensional effect that mimics carved wood, etched acrylic, or embossed paper. The result is an ornament that has physical depth, shadow lines, and a handcrafted feel, even though it was produced with digital precision.
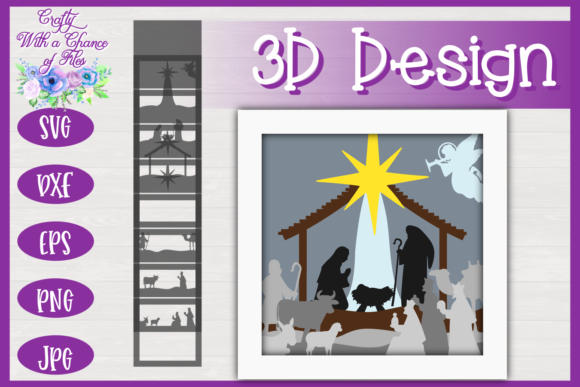
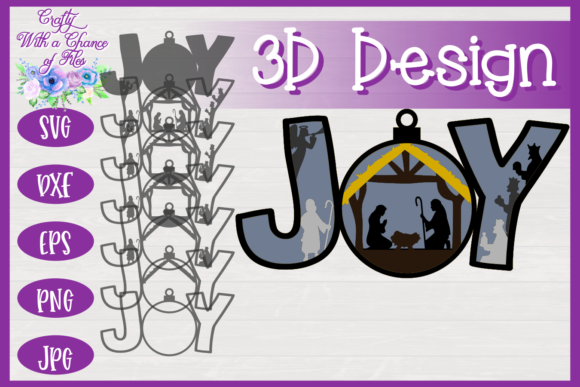
The key distinction from standard flat SVG designs is the deliberate separation of elements into foreground, midground, and background layers. For example, a snowflake ornament might have a solid backplate, a middle layer with the snowflake’s outer arms, and a top layer with detailed inner cutouts. This layering approach mirrors techniques used in papercraft and cardmaking, but the digital format makes repeat production far more efficient.
These files are most commonly created by independent designers and sold through marketplaces like Etsy, Creative Fabrica, or Design Bundles. They are typically delivered as a ZIP folder containing individual SVG files for each layer, along with a PDF instruction guide and sometimes a DXF or PNG version for compatibility across different cutting machines.
Where Layered Ornaments Fit in a Broader Creative Workflow
Incorporating 3D layered SVG ornaments into a project is not an isolated task. It sits within a larger sequence of planning, material selection, cutting, assembly, finishing, and distribution. Understanding where these files fit helps you allocate time and resources more effectively.
Before the cut: The decision to use a layered design affects material choice. You need to select cardstock, basswood, acrylic, or felt in colors that correspond to each layer. Some files are designed for contrasting colors, while others use monochromatic shades to create tonal depth. This is also the stage where you check the file’s layer count—some ornaments have as few as three layers, while intricate designs can have six or more. More layers mean more cutting time and more material, but the visual payoff can be substantial.
During the cut: Proper preparation of your cutting mat and material is essential. Layered files often include tiny internal cutouts—fine details like stars, text, or filigree—that require a sharp blade and appropriate pressure settings. Running a test cut on scrap material before committing to your final cardstock or wood veneer prevents wasted time and material. If your machine supports it, use a calibration pass to ensure each layer aligns correctly when stacked.
After the cut: Assembly is where the layered effect comes to life. You will stack the layers using adhesive foam dots, glue, or double-sided tape. Some creators use a jig or template to keep layers aligned while the adhesive sets. Finishing steps might include adding a ribbon, sealing edges with matte varnish, or attaching a small hanger. If you are producing ornaments at scale, this post-cutting step often becomes the bottleneck, so planning a streamlined assembly process is worthwhile.
Practical Integration with Tools, Materials, and Platforms
Christmas Ornaments 3D Layered SVG designs interact with several other elements in your production setup. Understanding these interactions helps you avoid compatibility issues and improve output quality.
Cutting Software Compatibility
Most layered SVG files are structured for use with Cricut Design Space, Silhouette Studio, or LightBurn. Before purchasing or downloading a file, confirm that it is compatible with your software version. Some files are pre-grouped and color-coded by layer—red for the back layer, blue for the middle, green for the top. This organization simplifies importing and assigning cut settings. If you use a laser cutter, ensure the file includes cut lines rather than fill layers, as laser software typically interprets SVG strokes as cut paths.
Material Selection and Layer Order
The order of layers matters not only for aesthetics but for structural integrity. The back layer (often the largest) provides stability. The middle layers add depth and support for the top layer. If you use lightweight cardstock, apply a thicker material for the backplate. For laser-cut wood, consider using 1/8-inch plywood for the back and 1/16-inch for detailed top layers. Matching material thickness to the intended depth of each layer prevents the ornament from feeling flimsy or toppling forward.
Storage and Organization
If you build an inventory of layered ornaments—whether for a craft show, an online shop, or future gifting—you need a system for storing both the digital files and the finished pieces. Name each SVG file clearly (e.g., “Ornament_Snowflake_Layer1_Back.svg”) so you can quickly reload a specific layer if you need to recut. For physical storage, use tiered trays or compartmentalized boxes to prevent stacked ornaments from shifting and damaging delicate top layers.
Implementation Tips for Consistent Quality
Delivering a polished layered ornament requires attention to detail across several points in the process. The following practices help maintain consistency, especially when producing multiple units.
- Test layer alignment before cutting the final material. Some SVG files include alignment marks or registration guides. Print a paper template first, assemble it, and check that all layers fit snugly. Misaligned layers create gaps that detract from the 3D effect.
- Use consistent adhesive thickness. Foam tape or foam dots raise the top layers evenly. If you use liquid glue, apply a thin, even coat to avoid warping the cardstock. Thicker adhesive can cause layers to tilt, especially on smaller ornaments.
- Plan for finishing time. Assembly of a single three-layer ornament might take five minutes, but a six-layer design with intricate details can take fifteen. If you are producing fifty ornaments for a holiday market, factor in assembly time when setting your production schedule.
- Protect the surface of layered edges. Cardstock edges can fray or develop a white crease when cut. A light sanding with fine-grit sandpaper or a quick pass with a heat tool can clean up edges. For wood ornaments, a coat of clear sealant prevents dust accumulation in the crevices between layers.
- Photograph the final product with side lighting. The layered effect is most visible when light casts shadows across the edges. If you sell ornaments online, include a photo taken at an angle that shows the depth, not just a flat front view.
Scaling Production for Business or Bulk Gifting
Once you have mastered the assembly of a single ornament, scaling up introduces new considerations. Many entrepreneurs begin with layered ornaments as a side project during the holiday season, then find themselves overwhelmed by demand. A few workflow adjustments can prevent burnout and maintain product quality.
Batch your cutting sessions. Dedicate a block of time to cutting all back layers for fifty ornaments, then all middle layers, then all top layers. This reduces blade changes and material swaps. Keep each batch in labeled envelopes or boxes until you are ready to assemble.
Create an assembly station with designated zones for adhesive application, layer stacking, and final inspection. Use a small piece of transfer tape or a clean tweezers to position delicate top layers without smudging the adhesive. If you work with a team, provide a printed instruction sheet with layer order and alignment notes—even if the file seems straightforward to you, a helper may not see the same visual cues.
For sellers, consider offering a “DIY kit” version of your ornament. Package the pre-cut layers with adhesive dots and a ribbon, and sell the kit with assembly instructions. This shifts the labor to the customer while still generating revenue from your cutting and design work.
If you use a laser cutter, track the power and speed settings for each material type. A logbook of successful cuts helps you replicate results without re-testing. This is especially useful when you return to a design after several months or when you source a new batch of material from a different supplier.
Long-Term Use and Archiving
Christmas Ornaments 3D Layered SVG files are not a one-time asset. Many creators build a library of designs that they reuse across multiple years, adapting color schemes or material types to fit current trends. Keeping your files organized and accessible ensures you can pull a design quickly when a custom order comes in or when you want to update your product lineup.
Store your SVG files on cloud storage with a consistent naming convention. Include the ornament name, layer number, and material recommendation in the filename. Back up your library before the holiday rush begins. If you sell files, maintain a separate folder for each customer license or commercial use agreement so you can verify usage rights when needed.
Consider creating a master template SVG that includes registration marks and layer order notes. This template can be used as a starting point for custom designs, saving you from rebuilding the alignment structure each time. Over time, this approach helps you develop a consistent style across your ornament collection, which strengthens your brand recognition.
Observations on the Creative and Commercial Landscape
The market for layered SVG ornaments has matured. Buyers—both consumers and fellow makers—expect clean files, accurate layer separation, and clear instructions. If you design your own ornaments, pay attention to the gap between layers. A gap that is too narrow makes the ornament look crowded, while a gap that is too wide reduces the perceived depth. Test your design at multiple scales before releasing it.
From a workflow perspective, the most efficient creators treat the layered SVG not as a finished product but as a component within a larger system. The file is the blueprint; the material, assembly method, and finishing touches are where the value is added. By refining each stage of that system, you can produce ornaments that are not only visually striking but also reproducible, durable, and worth the time invested.
Whether you are cutting your first layered snowflake or scaling production for a holiday collection, approaching the process with clarity and preparation turns a decorative craft into a reliable part of your creative practice. That preparation, from file selection through final assembly, is what separates a well-executed ornament from one that merely looks layered.